Thursday, 19 December 2013
Project 1:compering old and new part
bottom left=bad, bottom right = bad
for the left, there is a lot of blur on the boards and sam is in the way of Maia who is meant to be the teacher and seen and there is only 3 people in the shoots making it look less like a classroom that is meant to have more students in it
with the right there is less blur on boards making them easier to see, plus sam is not blocking Maia anymore and she can now be seen plus since shelby is in the shoot makes it look more like a classroom now, since in the left picture there is only 3 people in the shoot


Project 1:Rotoscoping
Rotoscoping is a technique used by animators to trace over film footage frame by frame so that an animation can be used, this can be used for both live-action films and animation films (of course live-action would be recorded first then the animation would be applied.
Rotoscoping was invented by Max Fleischer who used in his own series called out of the inkwell which started airing around 1915
around 15 years later Rotoscoping was use in cartoons by Fleischer.
EXAMPLE OF ROTOSCOPING USED IN DISNEY, PREFORMED LIVE-ACTION FIRST THEN USED ROTOSCOPING TO DRAW OVER THE LIVE ACTION TO GET THE WANTED DISIGN


EXAMPLE OF ROTOSCOPING USED IN DISNEY, PREFORMED LIVE-ACTION FIRST THEN USED ROTOSCOPING TO DRAW OVER THE LIVE ACTION TO GET THE WANTED DISIGN

Disney first used Rotoschoping in snow white and the seven dwarves

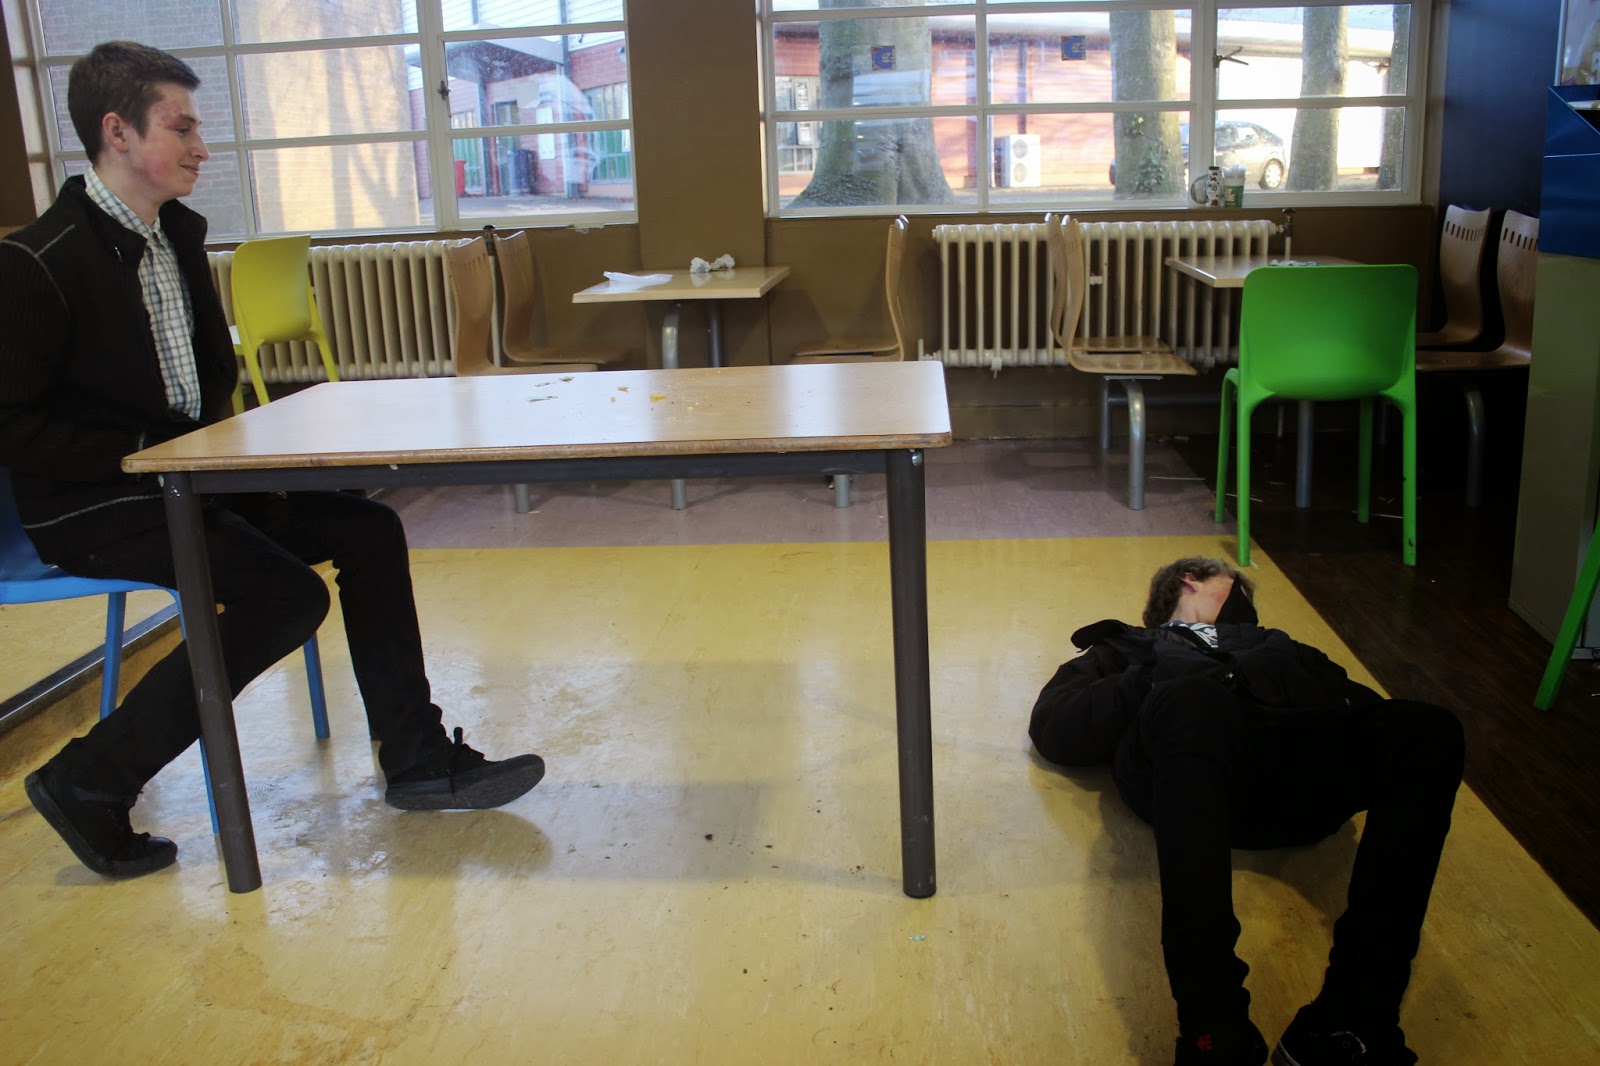
Project 1:the good the bad and the bin
THE THREE GOOD
 THE REASON THIS IS GOOD IS BECAUSE OF THAT FACT THE FOCUS IS ON SAMS SHOULDER AND BLURED THE PHONE
 REASON FOR THIS ONE BEING GOOD IS THAT THE LIGHTING ON THE CEILING FORM LEADING LINES THAT ATRACT THE PERSON WHO IS LOOKING AT THIS PHOTOS ATTENTION, ALSO YOU GET A GOOD VIEW OF THE ROOM
 THE PLAN WHITE BACKGROUD DRAWS YOU TOWARDS MAIA
THE FIVE BAD


THE FIVE BAD


Tuesday, 17 December 2013
Monday, 16 December 2013
Project 1:green screen
What is a green screen? A green screen is a special effect and post-production technique that is for composing two images and videos streams together that is based on the chroma range(color hues)
The first ever type of use of a green screen was in 1898 in a film called for Heads Are Better Than One by Georges Melies, but back then the green screen had not been developed and Matting was used instead, this was known as travelling matte.
Then back in 1930 the bluescreen was developed and in 1940 the bluescreen was used in the Thief Of Bagdad to create a genie escaping from a bottle.Then in 1964 Petro Vlahos won a award for his use with motion control cameras alleviated for both foreground and background which could be filmed with the same camera. In 1980 the minicomputer was used in the controlling of the optical printer for The Empire Strikes Back.
A use of green screen was in the Avengers Assemble movie where a green screen was used in the background to show New York during the massive battle in the city, the green screen was really convincing, to be honest at first I didn't know it was a green screen and though it was a prop background.

Friday, 13 December 2013


Thursday, 12 December 2013
P1. Working between Premiere and After Effects
ways of importing premiere to after effects
1: on premiere click file export then chose media and export it ,chose your desired setting save it then open it up with after effects
2: high-light the clips in the sequence, right click and click on replace with after effects composition, then after effects will ask you where to create the new project , after saving it will appear in after effects, but back in premiere it will be one clip so click undo to restore the sequence to individual clips, if there is any effects on the clip in premiere, they won't appear in after effects
3:move premiere to one half of the screen and after effects, then drag the sequence from premiere to after effects, then drag the sequence onto the comp button to create a composition for the sequence, if there are any changes/effects in premiere pro that are made after the sequence is in after effects, the changes will also happen in after effects
4: in after effects double click on the project panel, find the premiere project and click open, a dialogue box will appear, chose what you want and it will be in after effects
P1. Research and understanding mattes and matte painting
A Matte painting is a type of technique used in films to represent a landscape,set or a distant location that allows film-makers create an illusion of an open environment that doesn't exist or would be too expensive/impossible to shoot at.
Matte Painting is a very old technique that dates back to the Lumière brothers, and an early example of Matte painting was the creation of the train robbery back in 1903 where the technique was used to create the background for the outside of the window in the ticket office and later on in the film while the train was moving.
The first major use of the Matte painting was used by Norman Dawn ASC in the early 1900's. He had put seamless woven glass shoots into many of his films, and used glass shots to revolutionize the in-camera matte. Then in the 1920s the film stock began to rise and during this time a new technique known as Bi-pack camera method was introduced. Then in 1940 a major leap was made for Matting technique with the Thief of Bagdad which also introduced the blue-screen technique, then in 1977 there was a huge jump for matte painting when the first ever Star Wars move came out, A New Hope used Matte painting to make the Death Star scenery while Luke was piloting the X-wing. The final product for the Star Wars was a masterpiece in my view, the Death Star's laser tunnels were well made and still seem so realistic, the piece is very convincing, the artists who did this were extremely skilled.
Tuesday, 10 December 2013

Thursday, 5 December 2013
Monday, 2 December 2013
Project 1:. ANIMATIC REVIEW
1 shoot length; the average length of time for my shots is 1-2 seconds long, and then there are some really long shoots, is best if i cut some of my shoots down and extend some of the shots to 2.5 seconds to get the 2 minute's that we originally needed to do
2 camera movement; the camera movements that our shown of our storyboard are shown moving on the animatic, all non-moving shoots are still and they do capture the viewer attention
3 sound levels; i wouldn't say the sound works with our sequence, since there isn't much sound if the video except from the voices and the ringtone
4 voice acting; yes, the voice acting is quit convincing and easy to follow but it could do with a touch up to make us sound more like our characters
5 VFX; yeah, but watching the animatic its really easy to see where the effects would be and could go, but some of the effects may be a bit of trouble to make and do but it is do-able
6 peer feedback; yes the sequence made sense to them and that they where interested in the story that me and my team had made and built up and how the animatic was put together.

Project 1:after effects review
1 what went wrong(shooting)
what i felt went wrong for shooting was the first clip where my hand was constantly moving, when i could of kept it still during the filming.
2 what i struggled with in after effects
what i struggled with was making the flame i made move along with my tumb, i found the track motion and having to move the flame clip by clip for the whole video to make the flame follow my tumb around the screen
3 what i need to learn
i fill like what i need to learn to have a bit more patience when using track motion and doing things clip by clip
4 what assets i need
flame affects
Subscribe to:
Posts (Atom)